Getting Started
NEW RISK ASSESSMENT
To create a new risk assessment you can create new from existing or new operation.
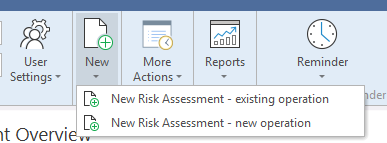
create new Risk Assessment
from existing operation
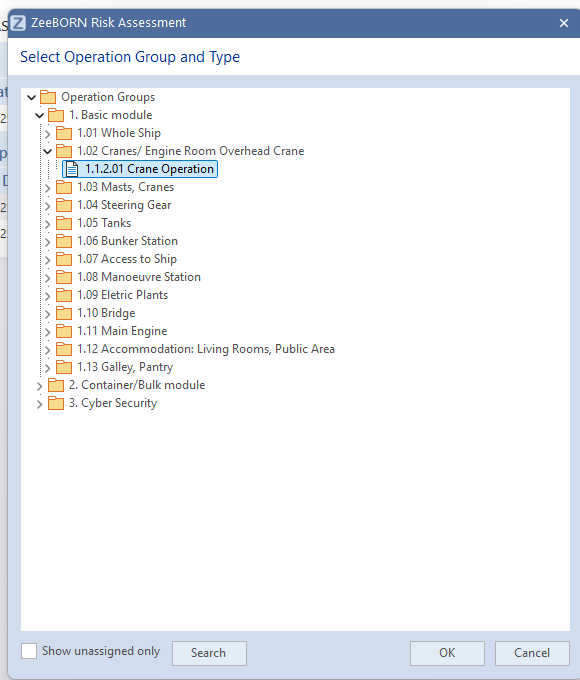
New Risk Assessment-existing operation and choose Operations group. Then select needed operations. If you couldn’t find the operation hit “search” for a text search.
for new operation
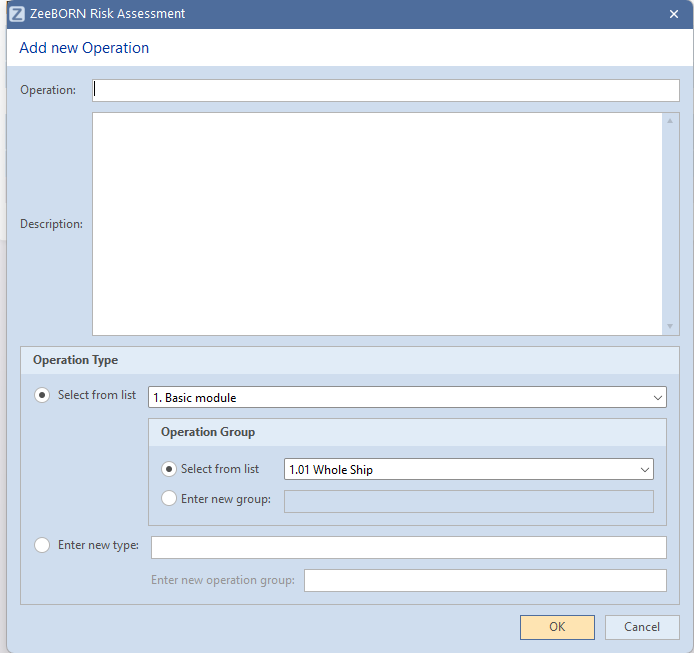
New Risk Assessment-new operation. Add operation name and give a description.
- Select "Operation Type" from list. Now select the operation group or insert a new operation group.
- If "Operation Type" is not available in list, add new "Operation type" and new "Operation group".
Tab "Risk Conditions"
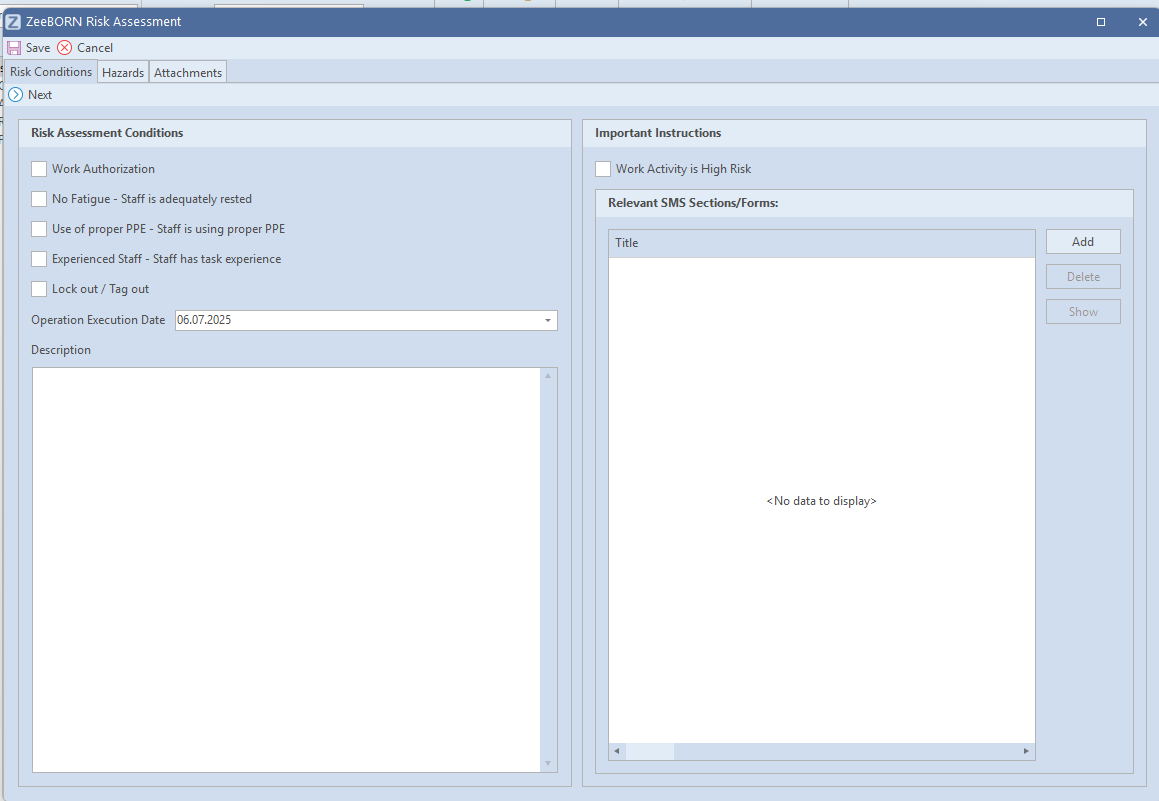
Tab “Hazards”
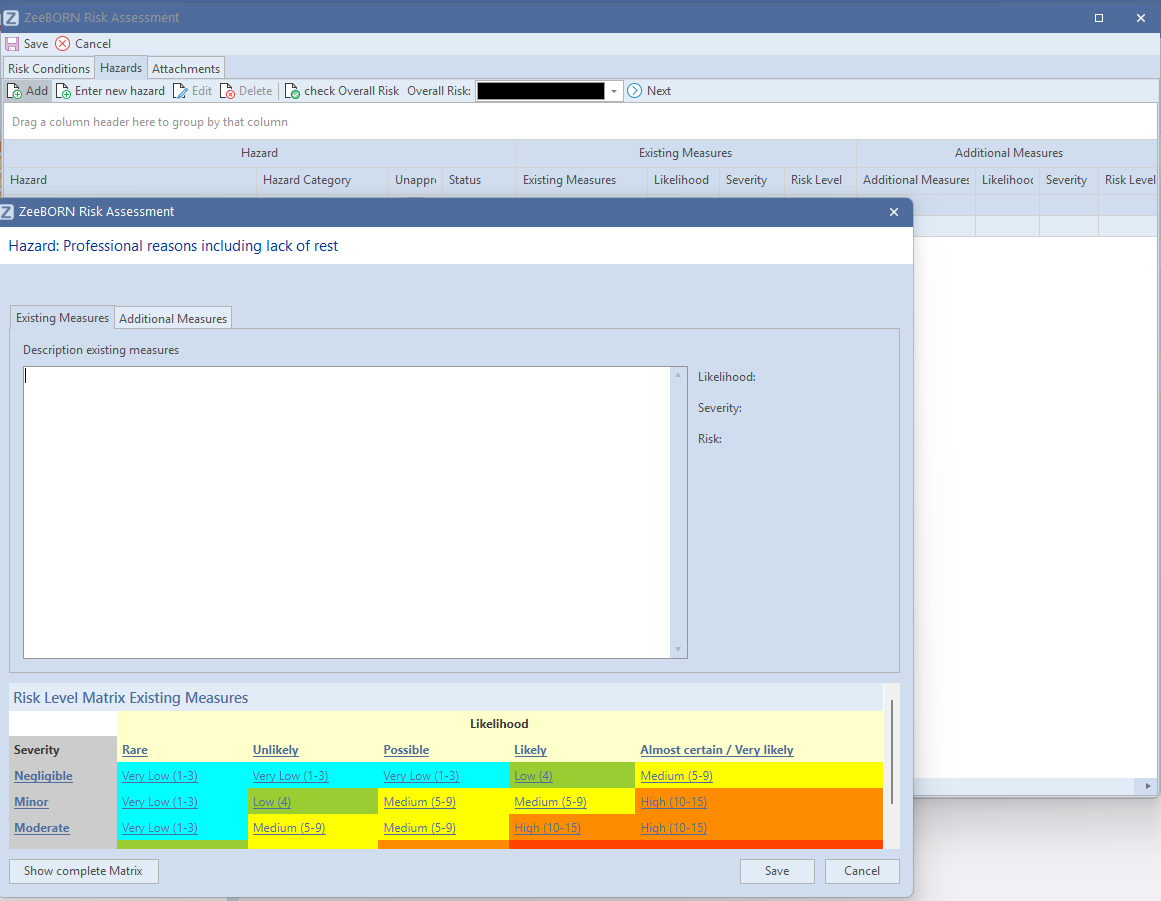
- Add: A hazards from the list can be added.
- Enter new Hazard: A new hazard can be insert in system.
- Edit: Choose a hazard and this hazard can be edit.
- Delete: The button is only visible with the relevant right. The selected hazard with all corresponding information will be deleted.
A "Description exsisting measures" for Hazard has to be given and Hazard has to be rated.
Note:
"additional measures" should only be filled out if a measure can reduce the risk.
Tab “Attachments”
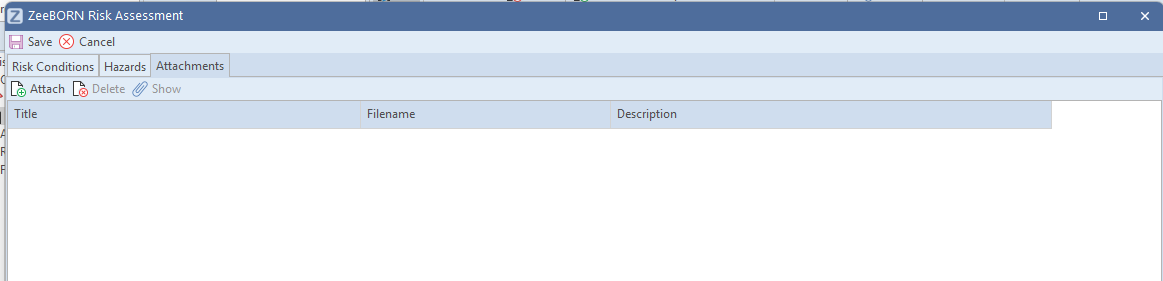
Add
You can add documents/files
- from scanner
- from file
- from file with deleting (original file will be deleted from disk and will be available only in ZeeBORN System)
- multiple files
- multiple files with deleting
- link to ZeeBORN Documents (if available for this module)
Show/Delete
Shows all assigned documents. If you have the corresponding user right you can delete document(s).
Editing Risk Assessment
Now you find the RA in folder ”open”. Hit edit to handle the details.
Once all the data are entered, the process can be completed by hit assess.
More Actions
Under “More Actions” you find useful functions:
Refresh
If the added data were not visible, please use Refreshto update the module.
If this not works, please contact ZeeBORN. Support@zeeborn.net
Share
Instead of a typical Print or Export function, the system uses a Share functionality similar to features found on mobile devices.
Almost any document or data list shown in the system can be shared.
Depending on the type of data to be shared (document or data list), the following share options are available:
- Send to Printer
- Send E-Mail
- Export to PDF file (documents only)
- Export to Excel file (data grids only)
Search
You will find the Search Function under Button More Actions or via the shortcut F3.
You may either search via Name, Number or a full text search (also including the description of items). Use “OK” and you will be guided to the selected Risk Assessment or Hazard.
Show History
With Show History you can look at the history. Comments can still be added to the SDR using the button "Add General Comment". With “Documents”, documents can be used to attach, view, or delete. An official SDR report can be printed or saved. With "Save (with Attachments)" the SDR can be saved.
Legend
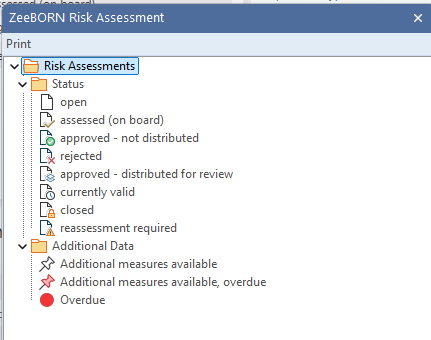
Data Transfer
The single Risk Assessment can be sent via E-Mail as separate Data Transfer.
save (offical)
With “save (official)” the Risk Assessment will be print in the correct form for authorities.